
This "Portable B3" -project
is the main reason why I decided to launch this HammondFinn blog some
time ago. Basicly it's quite traditional Hammond chop, a
try to get full console organ to more transportable form, but it's
also my personal study of Hammond philosophy.
Weight and bulky shape have been main problems over the time Hammond organs have been used in live
performances. Size can be reduced by cutting lower part off, but as
upper compartment still contains all the heavy parts, it's not a real
solution for portability. When it comes to non-musical aspects,
the outlook of real console organ, B3 or C3, is quite often pretty
important. And not the outlook only, but the real feel of solid and
sturdy instrument instead of plastic keyboard on wobbling lightweight
stand.
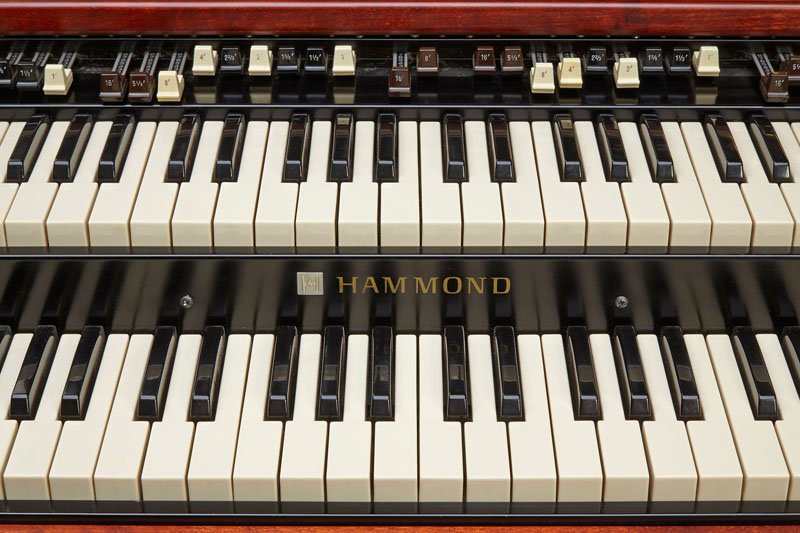
So my approach to the problem was to
split weight to separate modules and still keep the original look and
feel as far as possible. For this reason I ended up to build
completely new housing so that I got freedom to form parts just as I
wanted.

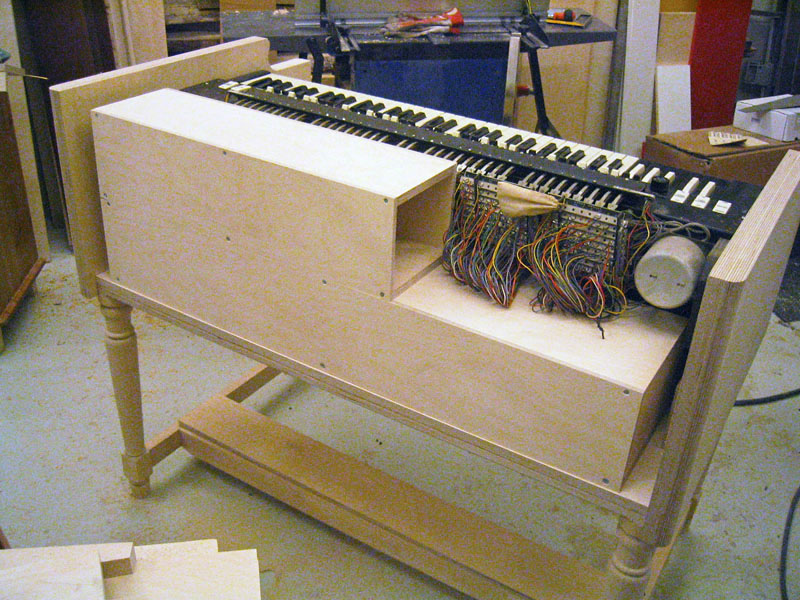
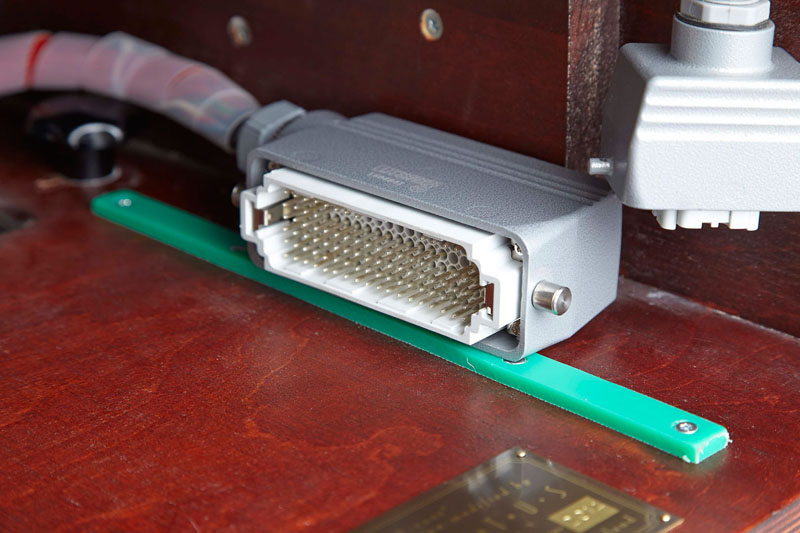
The instrument splits now to six parts; upper compartment with keyboards only, tone generator unit, preamp unit, lower compartment with pedalboard contacts, pedalboard and bench. Electrical units are linked together with industrial grade multipole connectors, so basically there are three connectors to get the organ ready to play or move.
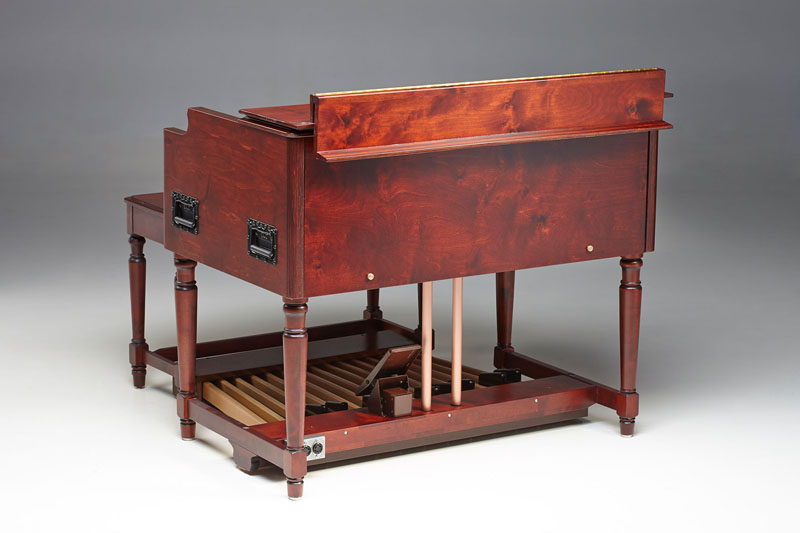
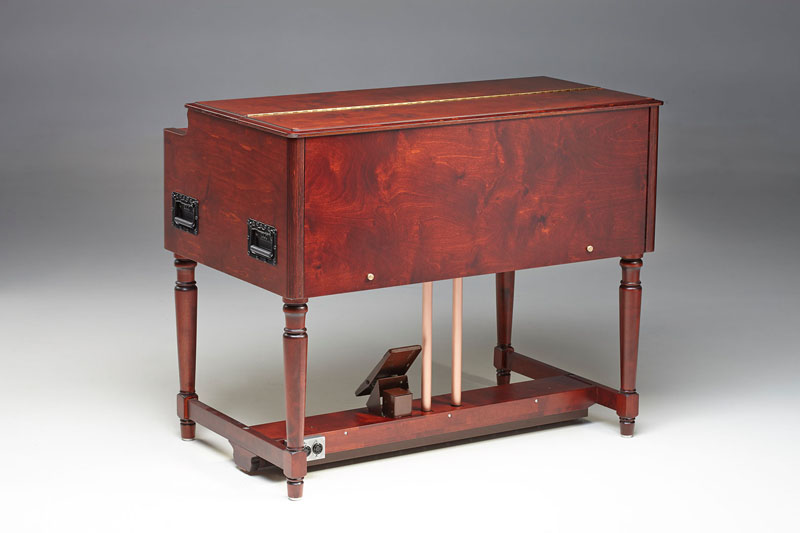

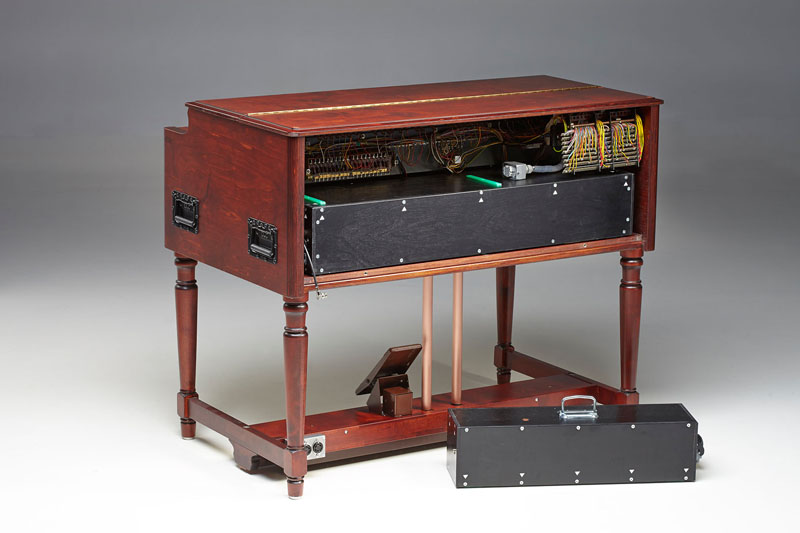

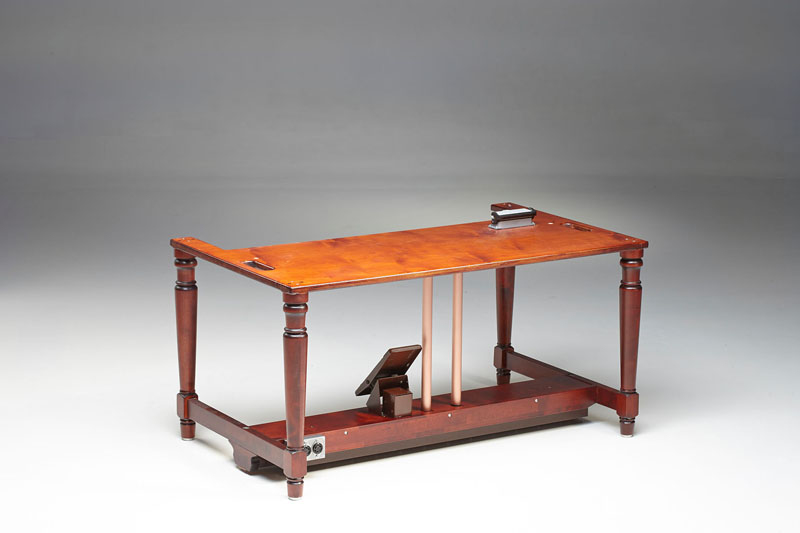
As the project was an unique prototype,
most of plans were in my head and formed out during actual work,
which every now and then made progress really slow. I decided to
use birch plywood for most parts of the housing, as my main target was
to build up robust instrument for gigging musician.
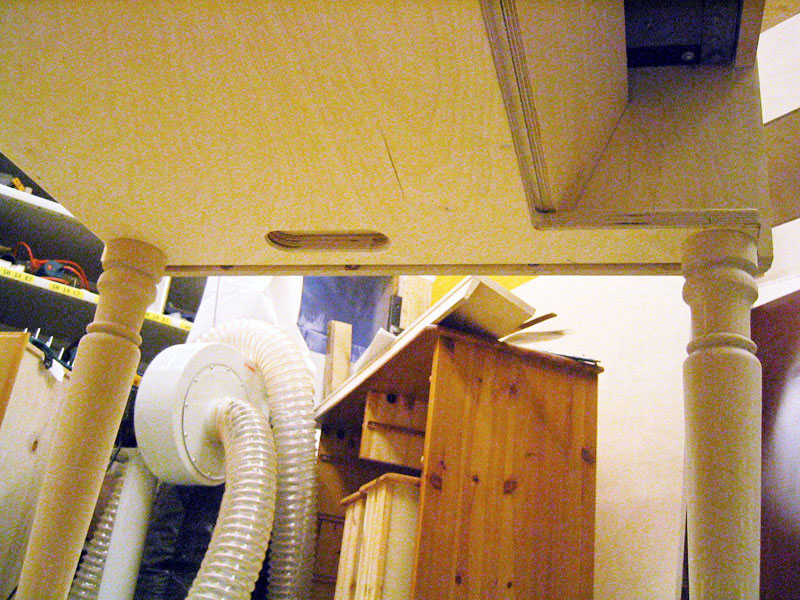
Dimensions of original Hammond parts determined all measurements, so I needed to make certain modifications to get all the components fit in; for instance, preamp power transformer is now mounted beside preamp and expression pedal capacitor housing is turned on its side, both to reduce height of preamp case.
Dimensions of original Hammond parts determined all measurements, so I needed to make certain modifications to get all the components fit in; for instance, preamp power transformer is now mounted beside preamp and expression pedal capacitor housing is turned on its side, both to reduce height of preamp case.


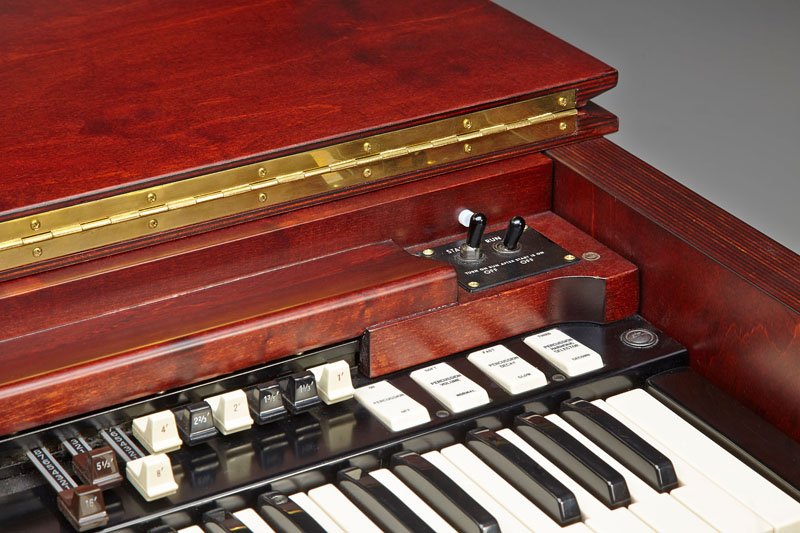
I also wanted to keep the preset panel
because it is one of typical console Hammond features, but as it couldn't be
left on it's original place and position, I had to rebuild panel
frame upside down, rewire it and match it to fit in free space. Switch is for selecting ground lift.

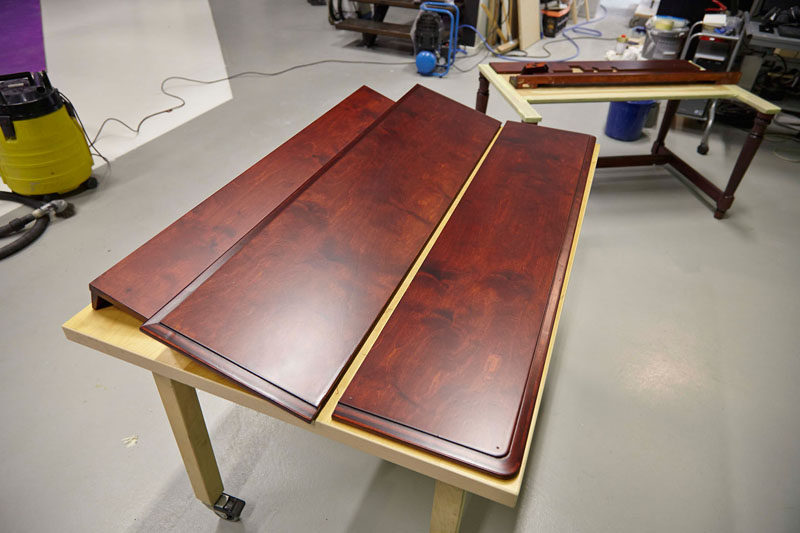
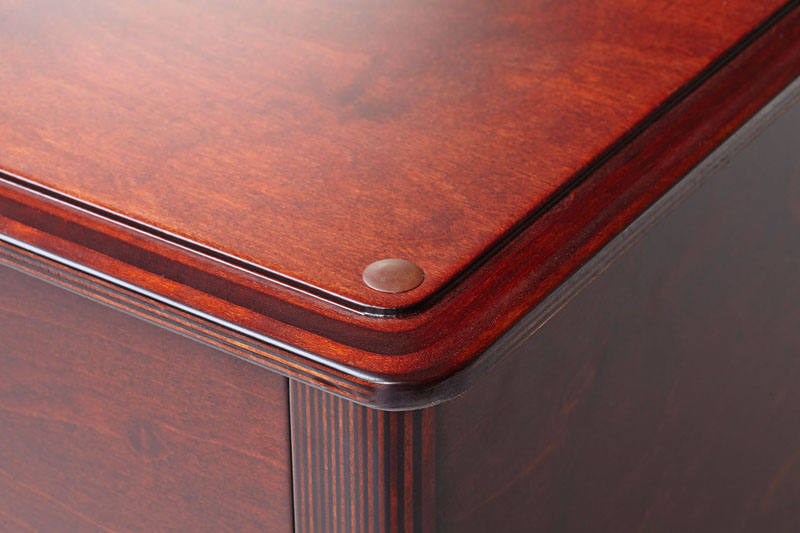
All wooden parts
are stained as cherrywood with slight reddish tint and finished with
2-component satin lacquer. There were several challenges to arrange
proper conditions for air spray painting in workshop at my
photostudio, but after all I was quite satisfied to results.


Expression pedal was one of the most
challenging part to solve; originally it has simple mechanic linkage from
pedal to preamp housing, but as all of my units were now detachable
and sealed, it was difficult to easily arrange any mechanical
connections between them. My first try was to move expression capacitor housing
from top of preamp to underneath pedal assembly and connect them
together with shielded cable to avoid hum and noise on this high
impedance part of circuit. It worked, but volume response had a nasty
delay, obviously caused by increased length of wiring.


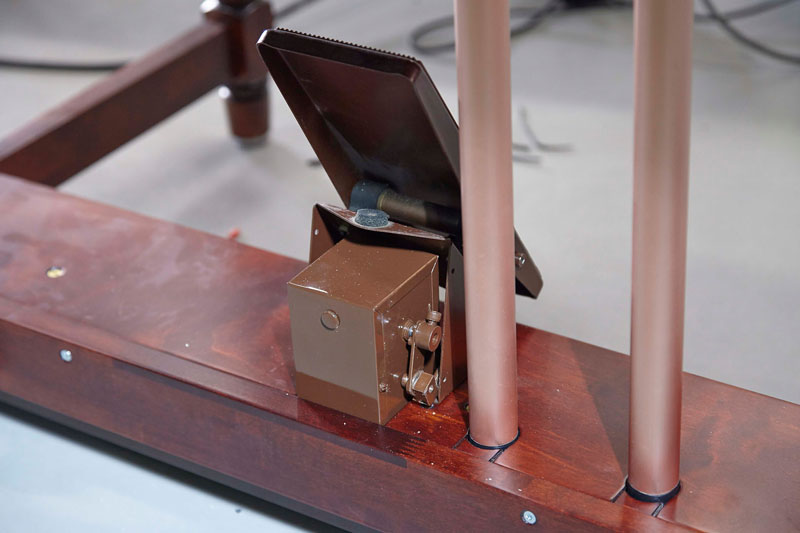
I finally built expression control with
a servo motor; the controller located on preamp housing reads value
from potentiometer which is linked with expression pedal and then
servo mechanically moves original control shaft.


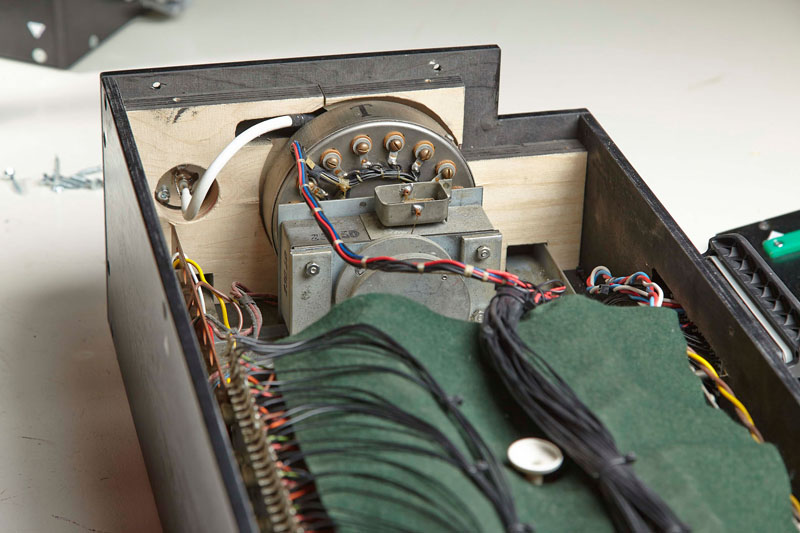
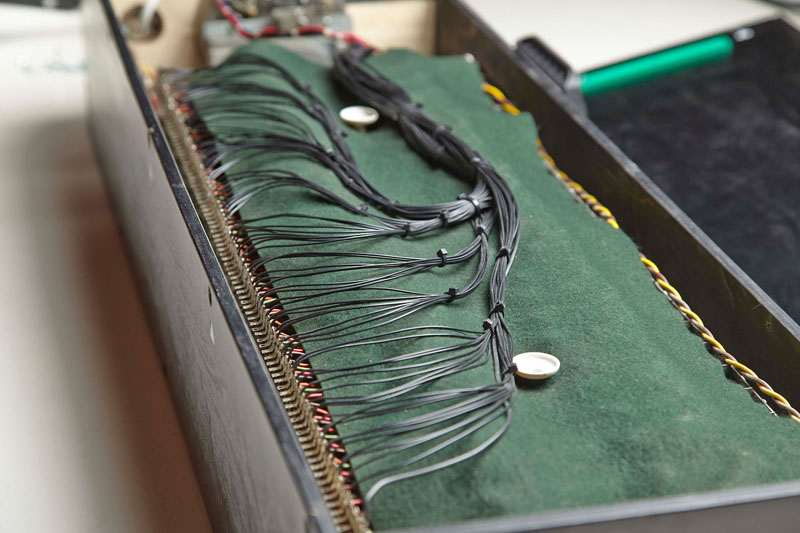
Another challenge related to high
impedance amplifier circuits was wiring from vibrato scanner to
preamp terminal "D". Although shielded, it is extremely
sensitive to any interference and easily causes noise and hum,
especially if the length of wiring is increased. After trying
different types of shieldings and grounding points with results of
different type buzzing and humming, I finally took separate short
coaxial line with BNC connectors from generator unit to preamp unit
and got rid of any noises. Other tone generator wirings remained quite close to their original length, so I didn't find problems with them.
During years I have made several leslie
modifications for solid state speed switching relays, so it was
natural add-on here too. This organ was meant to be used with leslie
122, therefore I modified connection so that instead of practically
useless B+ feed on pin 5, it is now used to send low level control
voltage to solid state relays in the leslie amp. By this means I got rid
of switching delays of original phantom voltage mixed in audio signal
and also getting full slow-off-fast control by simple voltage
polarity switching.
Same modification is even more
functional with unbalanced type leslies (147, 145, 251... etc) as they
originally use mains AC voltage to control original relay. In these
systems switching sparks often cause electrical noises, but what I
personally feel the most uncomfortable image, is having a lethal voltage
inside fragile bakelite leslie switch body just underneath my fingers. The very
same switch is mainly used as electric guitar pickup selector, so it's
really not a perfect item to make any high voltage connections.
Naturally, the switch unit is meant to be easily detachable with two thumbscrews and robust XLR-connector.
Naturally, the switch unit is meant to be easily detachable with two thumbscrews and robust XLR-connector.


As the organ was almost completely
parted during the project, I also made normal service operations like
busbar cleaning. I renewed electrolytic capacitors from organ and
leslie amplifiers too, as they are aging components anyway. Original
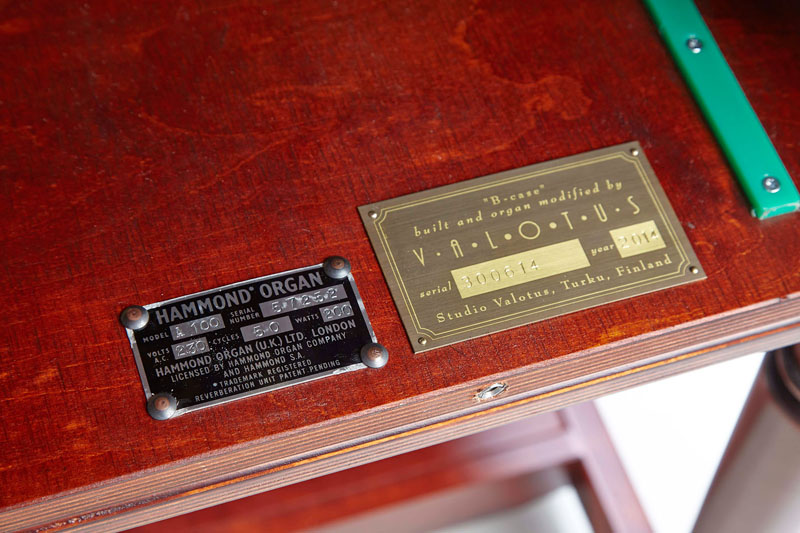
organ used in this project was Hammond A100 from early 70's, so it
had newer red mylar filter caps in generator and after all those
service procedures overall tone was really bright, punchy and powerful. Most
probably it was what all Hammonds have been when they rolled out from
factory line, but in this case it was a kind of problem, because the new
owner wanted it sound like mid 50's mellow jazz organ...
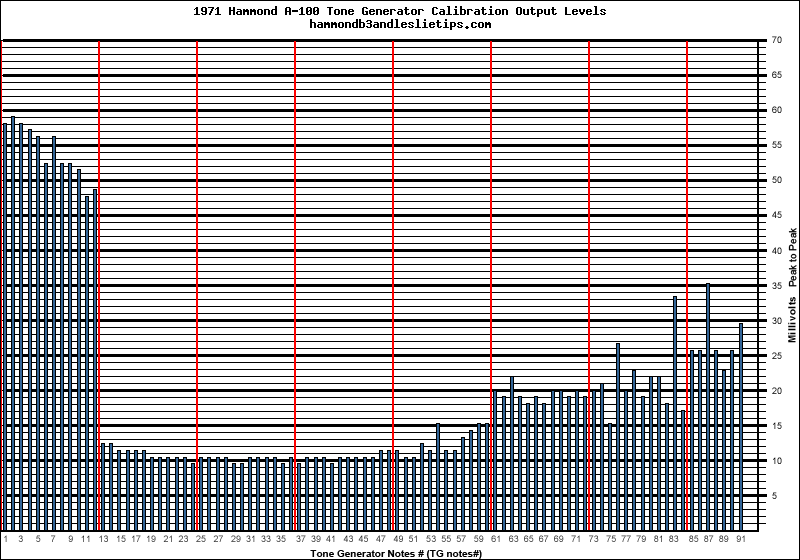

Solution for this was recalibration of
tone generator output voltages. There are available lot of
measurement data of organs from different era, so I first measured
actual voltages to make a chart to compare with all previous
data charts. It showed up that the bright high end curve was similar to
other late model organs (upper image), so I dropped higher tones down and raised
first two octaves a bit to get it closer to older models (lower image). Module
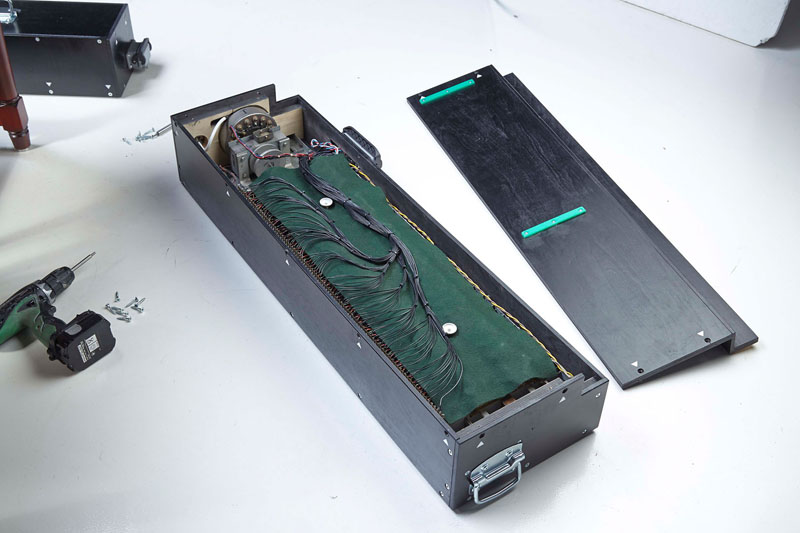
design of my project was now working like a dream, as I just lifted
generator unit on bench, unscrewed lids to expose pickups from both
sides and then temporarily connected mains to start and run motors.

So, what are my conclusions after all efforts?
Using term "portable" is maybe too extravagant in case of
any old tonewheel Hammond, as the heaviest unit of the organ is still
pretty heavy, although it won't break up your back so easily.
Actually, the total weight is now even higher than original B3 due to
extra housings, but on the other hand it is possible to divide to
lighter components which was my original idea. The best solution in
any case is use some kind of wheel dollies whenever it is possible,
so the final stage to my project was making roll-or-kari -type simple
wheel dollies from lightweight aluminium profile.


Without generator and preamp units the organ is now noticeable easier to lift and handle on dollies. And in my humble personal opinion, it's a real beauty compared to any Hammond chops I have seen so far.


Without generator and preamp units the organ is now noticeable easier to lift and handle on dollies. And in my humble personal opinion, it's a real beauty compared to any Hammond chops I have seen so far.






Very nice !
ReplyDeleteI love it!!!! Genius!!!
DeleteHieno! Hienompi kun mun -65 L100 joka on rakennettu flightcaseen. Vaan eihän mulle mahtuisi enää lisää rämpyttimiä.
ReplyDeleteUnbelievable... Thumbs up!!!
ReplyDeleteI love it! How much?
ReplyDeletethis is a real nice job you did , but I should never start it , I have built chops but in a practical way , modify E100 organs and cut them in half this is a cheap organ with all the guts for B3 sound and still all tubes , by using E100 I do not destroy a valuable B3 or A100.. What I noticed is that you usezd silvercontact connectors , watch out silver oxidizes , why not using gold connectors ?? anyway congratulations on this job . Benjamin Belgium
ReplyDeleteHello Benjamin! I apologize for how late I am to this discussion. I have an E-100 that I want to chop into 2 pieces. Do you have any advice or information that would be helpful to me in my effort? Please reach out! w.jordan.robson@gmail.com
DeleteGreat Job !, but how long to set up at the gig !?.
ReplyDeleteAwesome! -Jani, Pirkkala
ReplyDeleteBeautiful job!
ReplyDeletecould one person carry each piece?
ReplyDeleteWhat a fantastic job! Would you mind selling some of the plans for the cabinet? Really interested in picking you brain a bit, as I'm approaching a project simularly. I'm at peterkohlmetzmoller@gmail.com - Best, pete
ReplyDeleteI realy love this chop, What a great job. Would you be able to sell some of the plans for the cabinet? I have an old chop on a C3 that I would like to change the cabinet on. Im at refrig-man@hotmail.com. Thanks, marv
ReplyDelete